How to Capture Video in Unity 3D Game

This tutorial will simply walk you through how to set up Video Capture plugin to record 3D game in Unity. The version of Unity used is 2019.4.0f1.
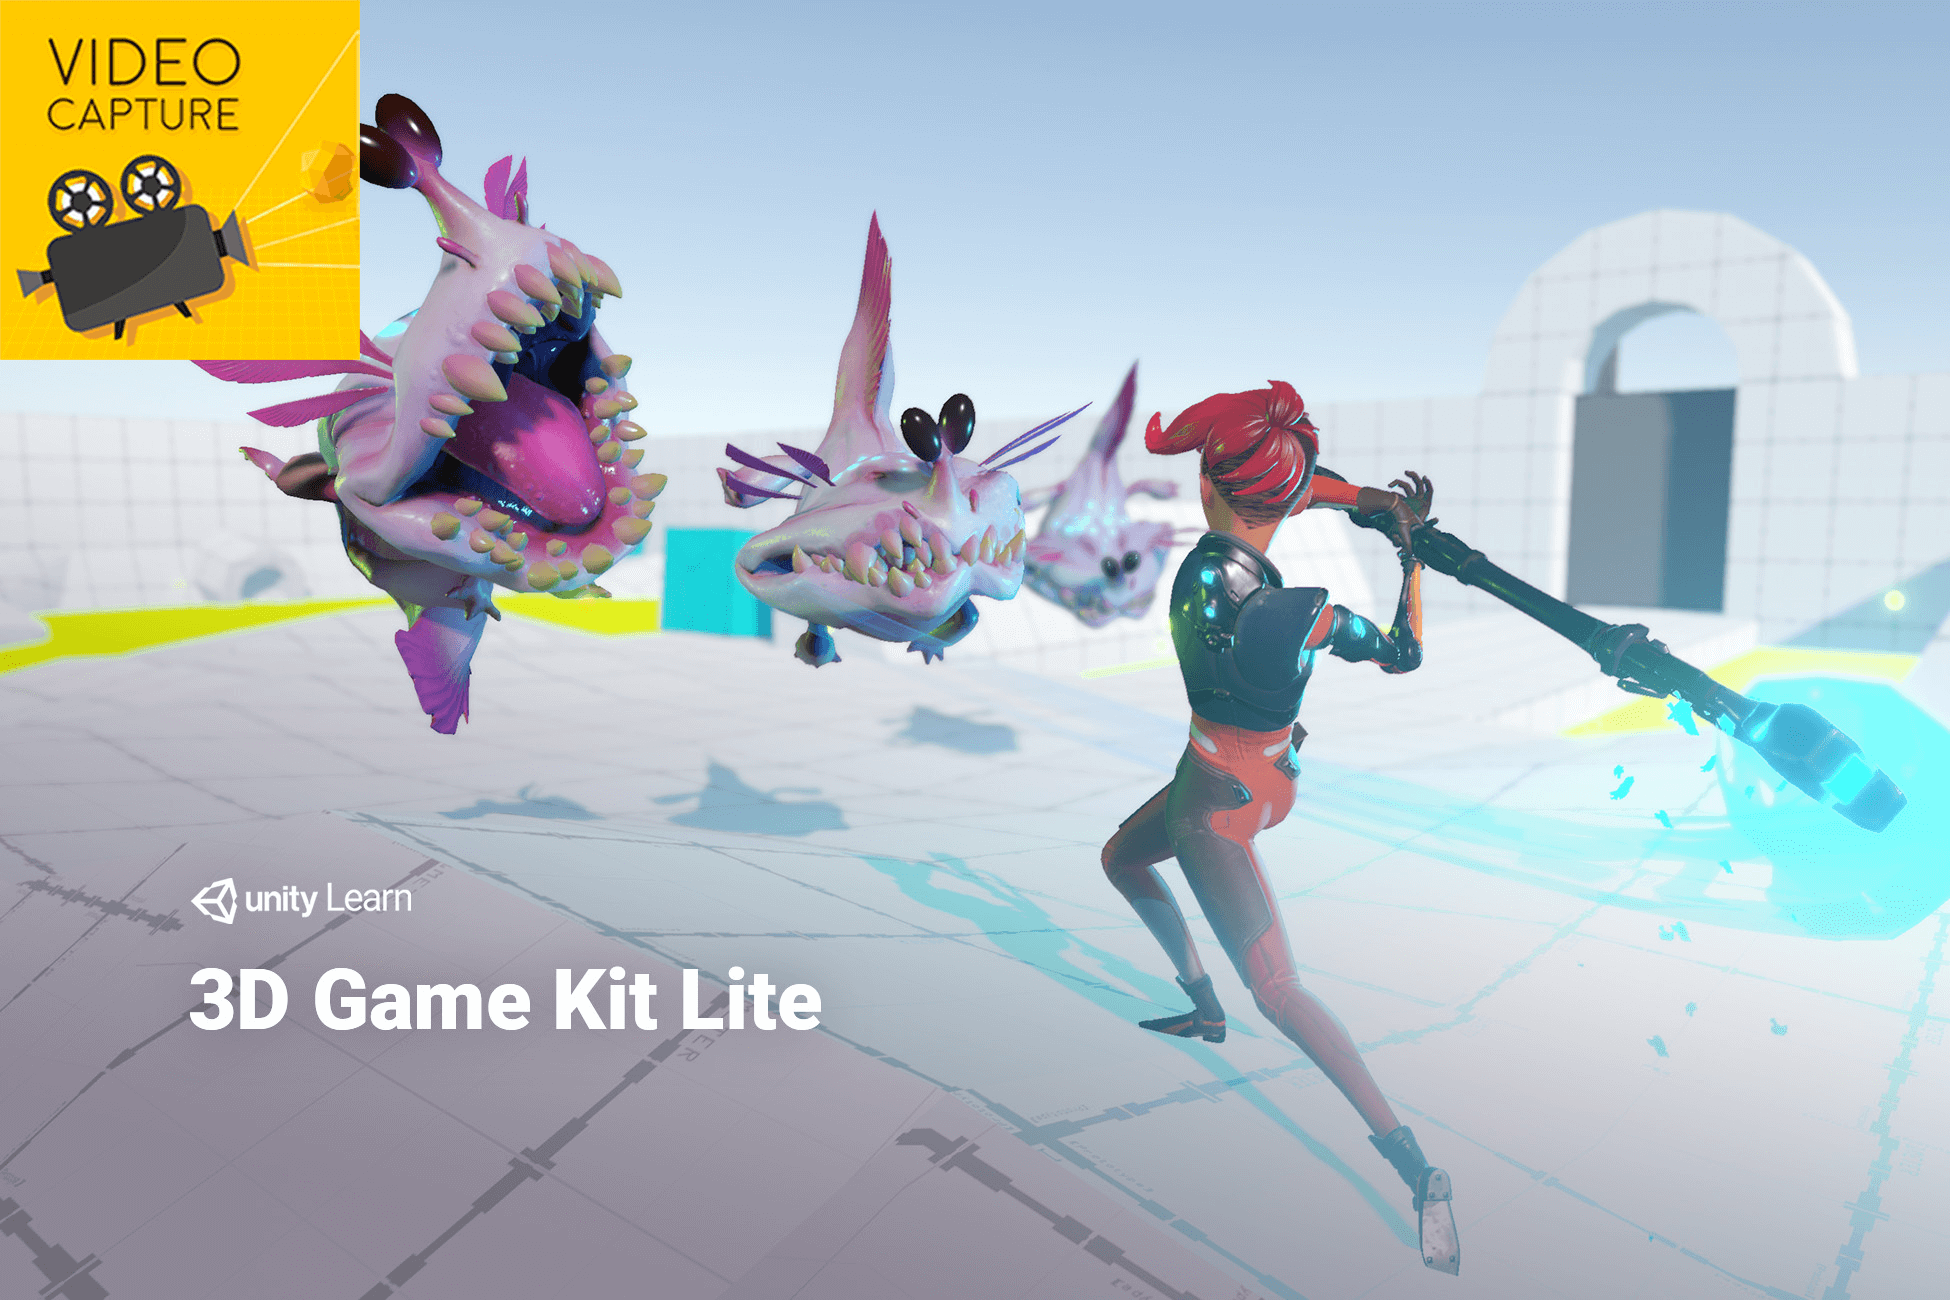
You will need a game, of course, I am using the Unity awesome 3D Game Kit Lite as an example, which you can download here.
Then, download and import the Free version of Video Capture, or purchase the Pro version on Asset Store.
After importing the Video Capture plugin, place the Video Capture prefab in your game scene, then attach it into the game character Ellen to make sure the capture camera will follow the moving of character. Don’t forget to adjust the prefab and camera’s position and rotation to make sure you are good with capture angle.
Play the game, start the video record session (click shortcut F1 since the game hide your mouse pointer) and play your video!
Now, let’s try to make a 360 video. First, reset the Video Capture prefab and place it in the position you want capture the 360 video. Second, config the Capture Mode to 360, Projection Type to EQUIRECT and Resolution to 4K. At last, let’s enable GPU encoding option to boost the performance (Only available in the Pro version).
Play the game, start the video record session (click shortcut F1 since the game hide your mouse pointer) and play your 360 video!
This is just a very basic getting started guide, please visit the document for more details and usages.
Other tutorials you may interested:
Download the full project: